Drone Piloting & Maintenance

This project is drone related, focused on DIY drone and flying commercial & agriculture drone.
During the short course by Aerodyne, we covered a range of topics from an introduction to drones, electronic components, and assembly, to maintenance and flying both commercial and agricultural drones. One of the most intriguing parts was the Do-It-Yourself (DIY) segment, where we built a drone from scratch.
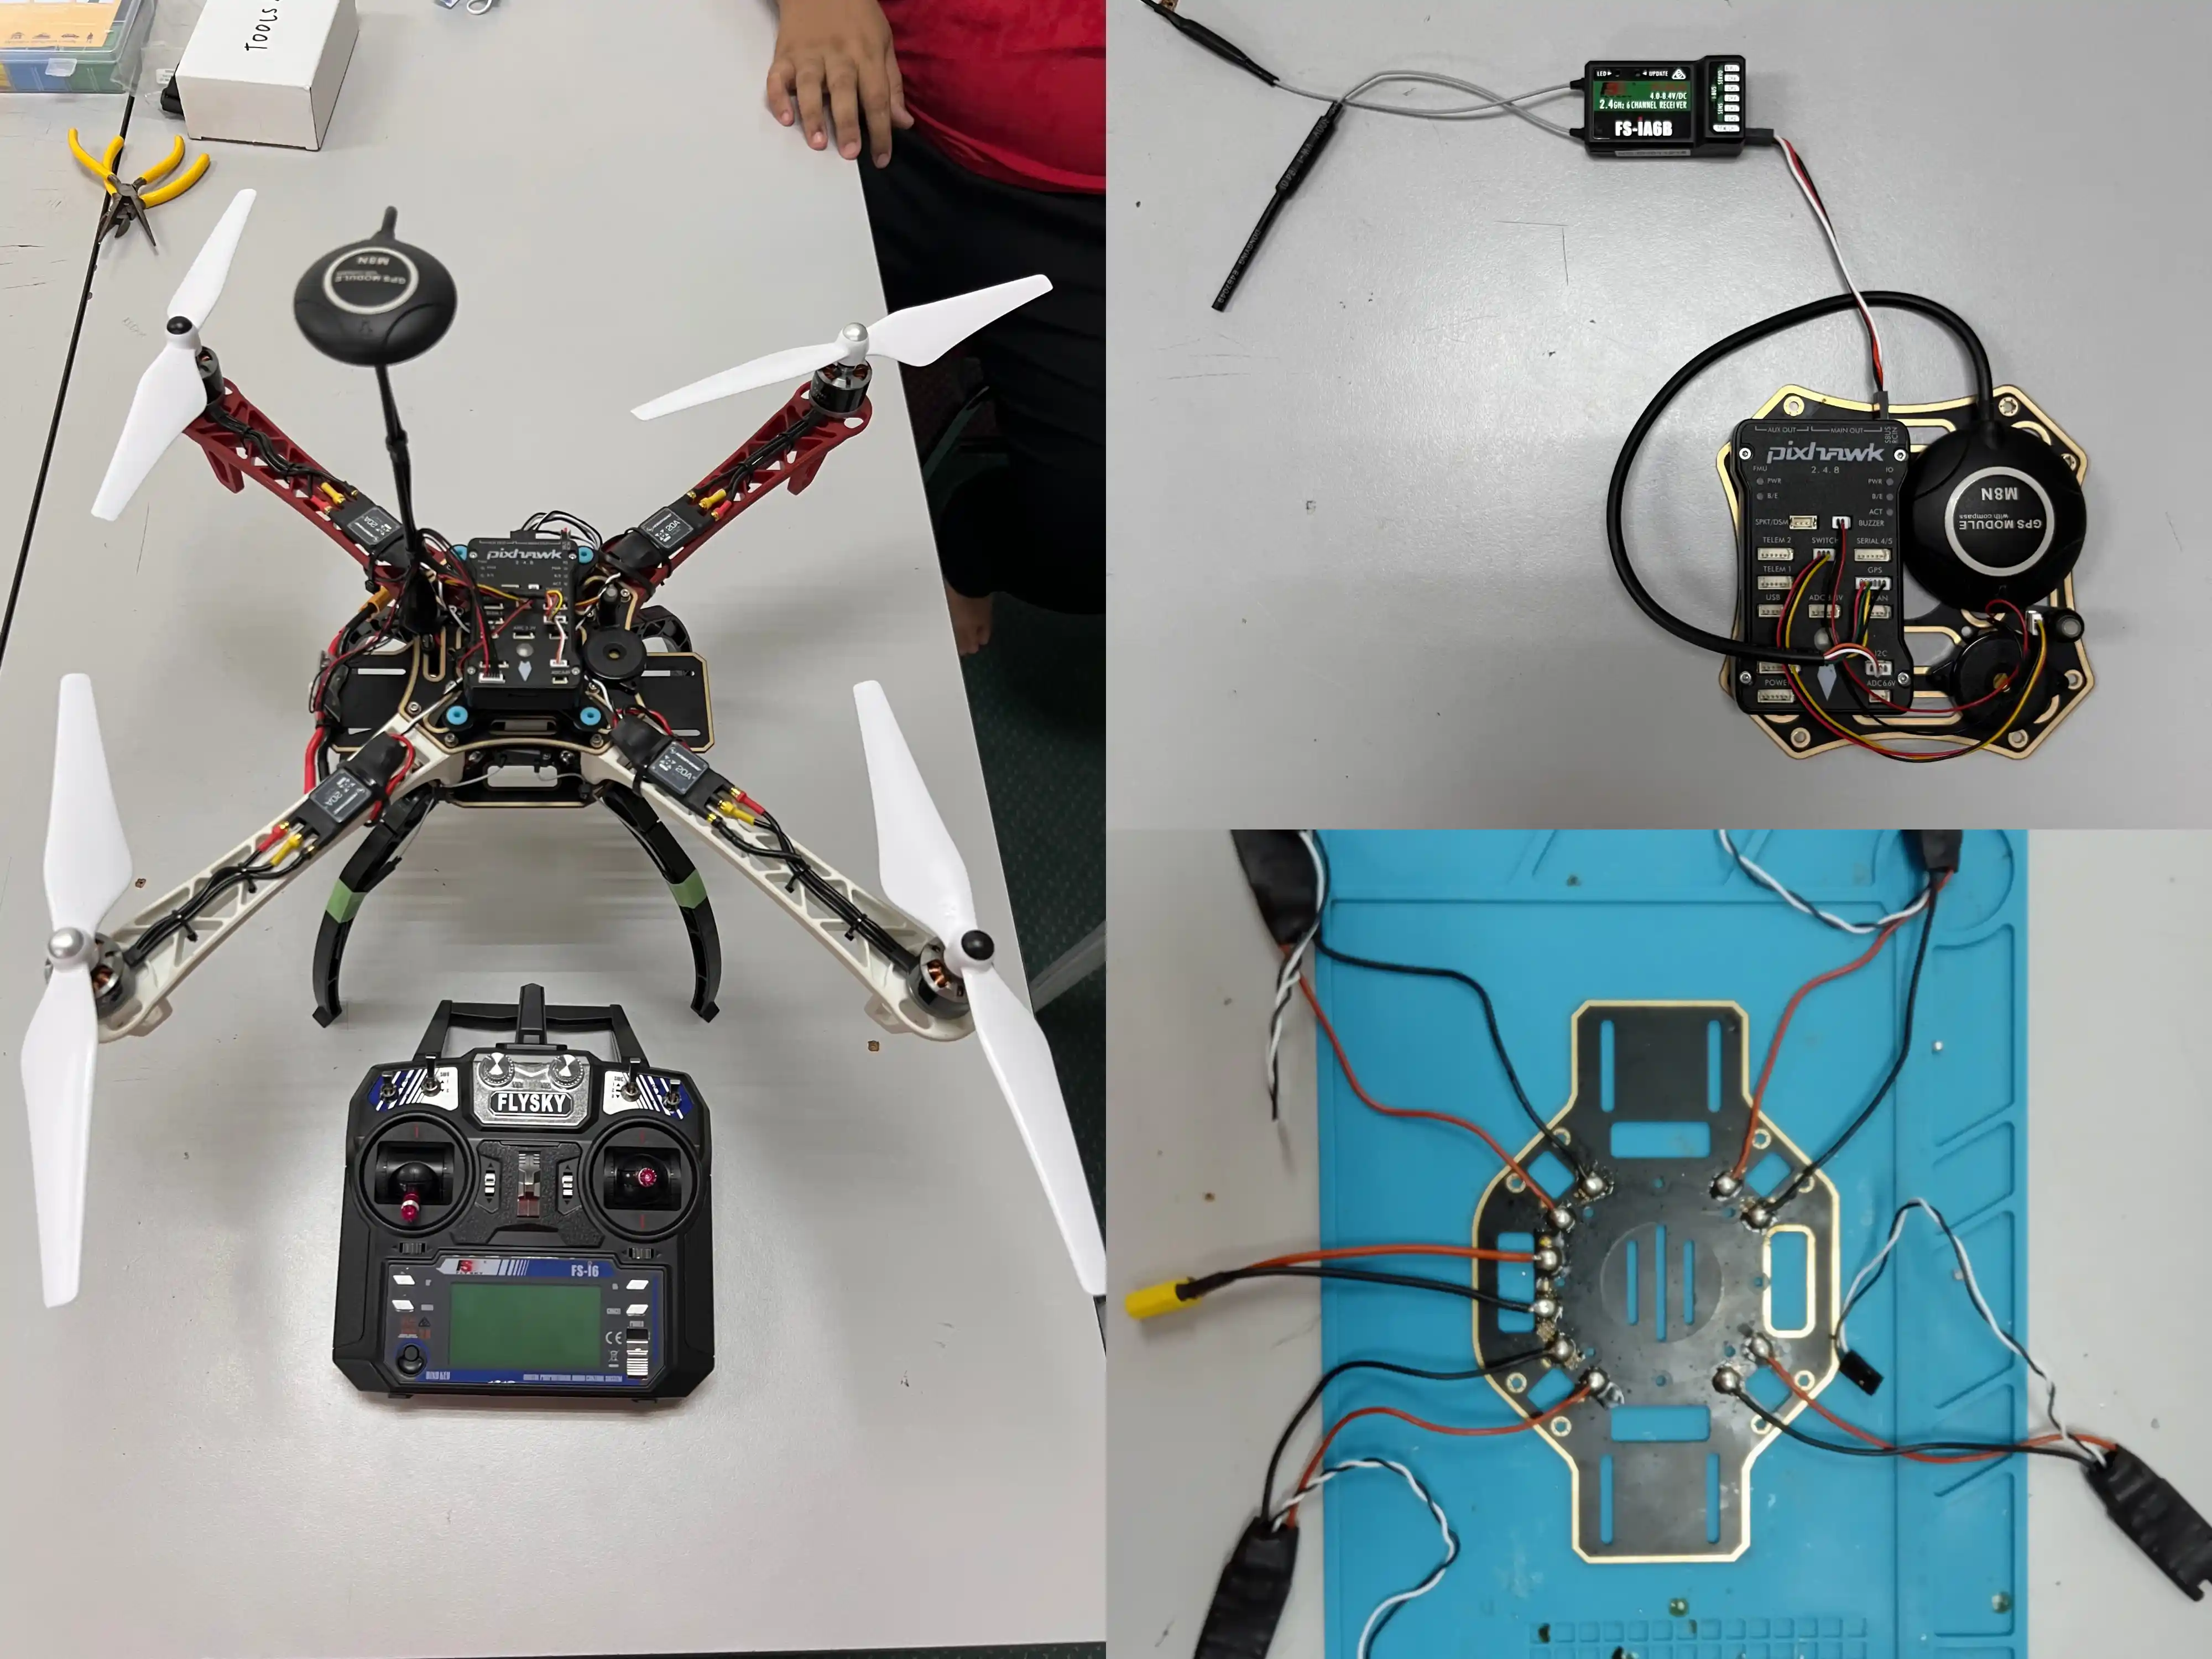
For the hardware setup, we assembled components such as the ESC, power module, flight controller, GPS module, buzzer, safety switch, and receiver, and soldered the power distribution board. After assembling and soldering, we connected the components via connectors.
In the software setup, we connected the Pixhawk flight controller to a PC, installed the necessary firmware, and calibrated each component using Mission Planner Ardupilot.

Component assembly (top right image), soldering power distribution board (bottom right image) and the complete drone (left image).
The primary reason I joined the program was to learn how to fly drones. We were instructed on the Standard Operating Procedures (SOP) for pre, during and post drone flight, including important features available on fly apps such as GPS, signal, battery monitoring and return-to-home (RTH).
In my view, operating standard commercial drones and agricultural drones is quite similar. The main differences lie in the apps used and the physical design of the drones: agricultural drones typically have a tank for liquid spraying and often feature more rotors.
By the end of the course, we completed a comprehensive flying assessment. It started with a pre-flight inspection, where we thoroughly checked the drone’s physical condition, ensuring there were no damages to critical components such as propellers, sensors, or structural parts. We then used the drone app to verify several safety parameters, including GPS signal strength (requiring at least 8-10 satellites for precise positioning), compass calibration, and IMU (Inertial Measurement Unit) status for stable flight. Additionally, we checked the RC (remote controller) signal strength to ensure a solid connection between the drone and controller, along with monitoring the battery health and charge levels for sufficient flight time.
We confirmed that the Return-to-Home (RTH) feature was activated and configured with the correct altitude to avoid obstacles, and performed a geofence setup to restrict flight to a safe operational area.
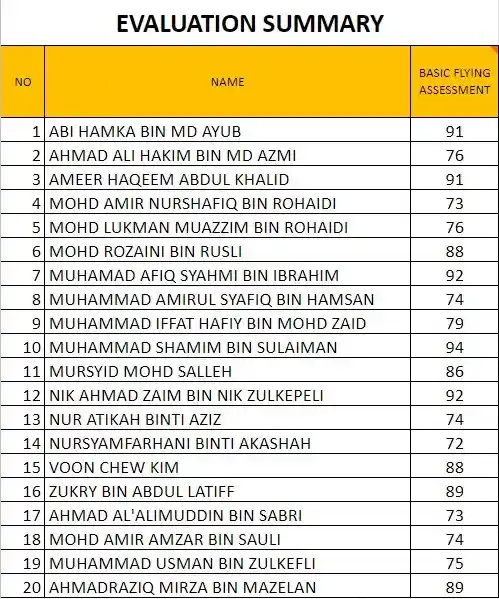
Once all pre-flight safety checks were complete, the assessment moved on to flight maneuvers. The maneuvers I found particularly interesting and challenging were the figure 8, where we had to fly the drone in a figure-eight pattern, the reverse figure 8, and the Point of Interest (POI) figure 8. In the POI maneuver, the drone must orbit a fixed point located at the center of each loop in the figure eight. My performance during the flying assessment was quite good (see below).
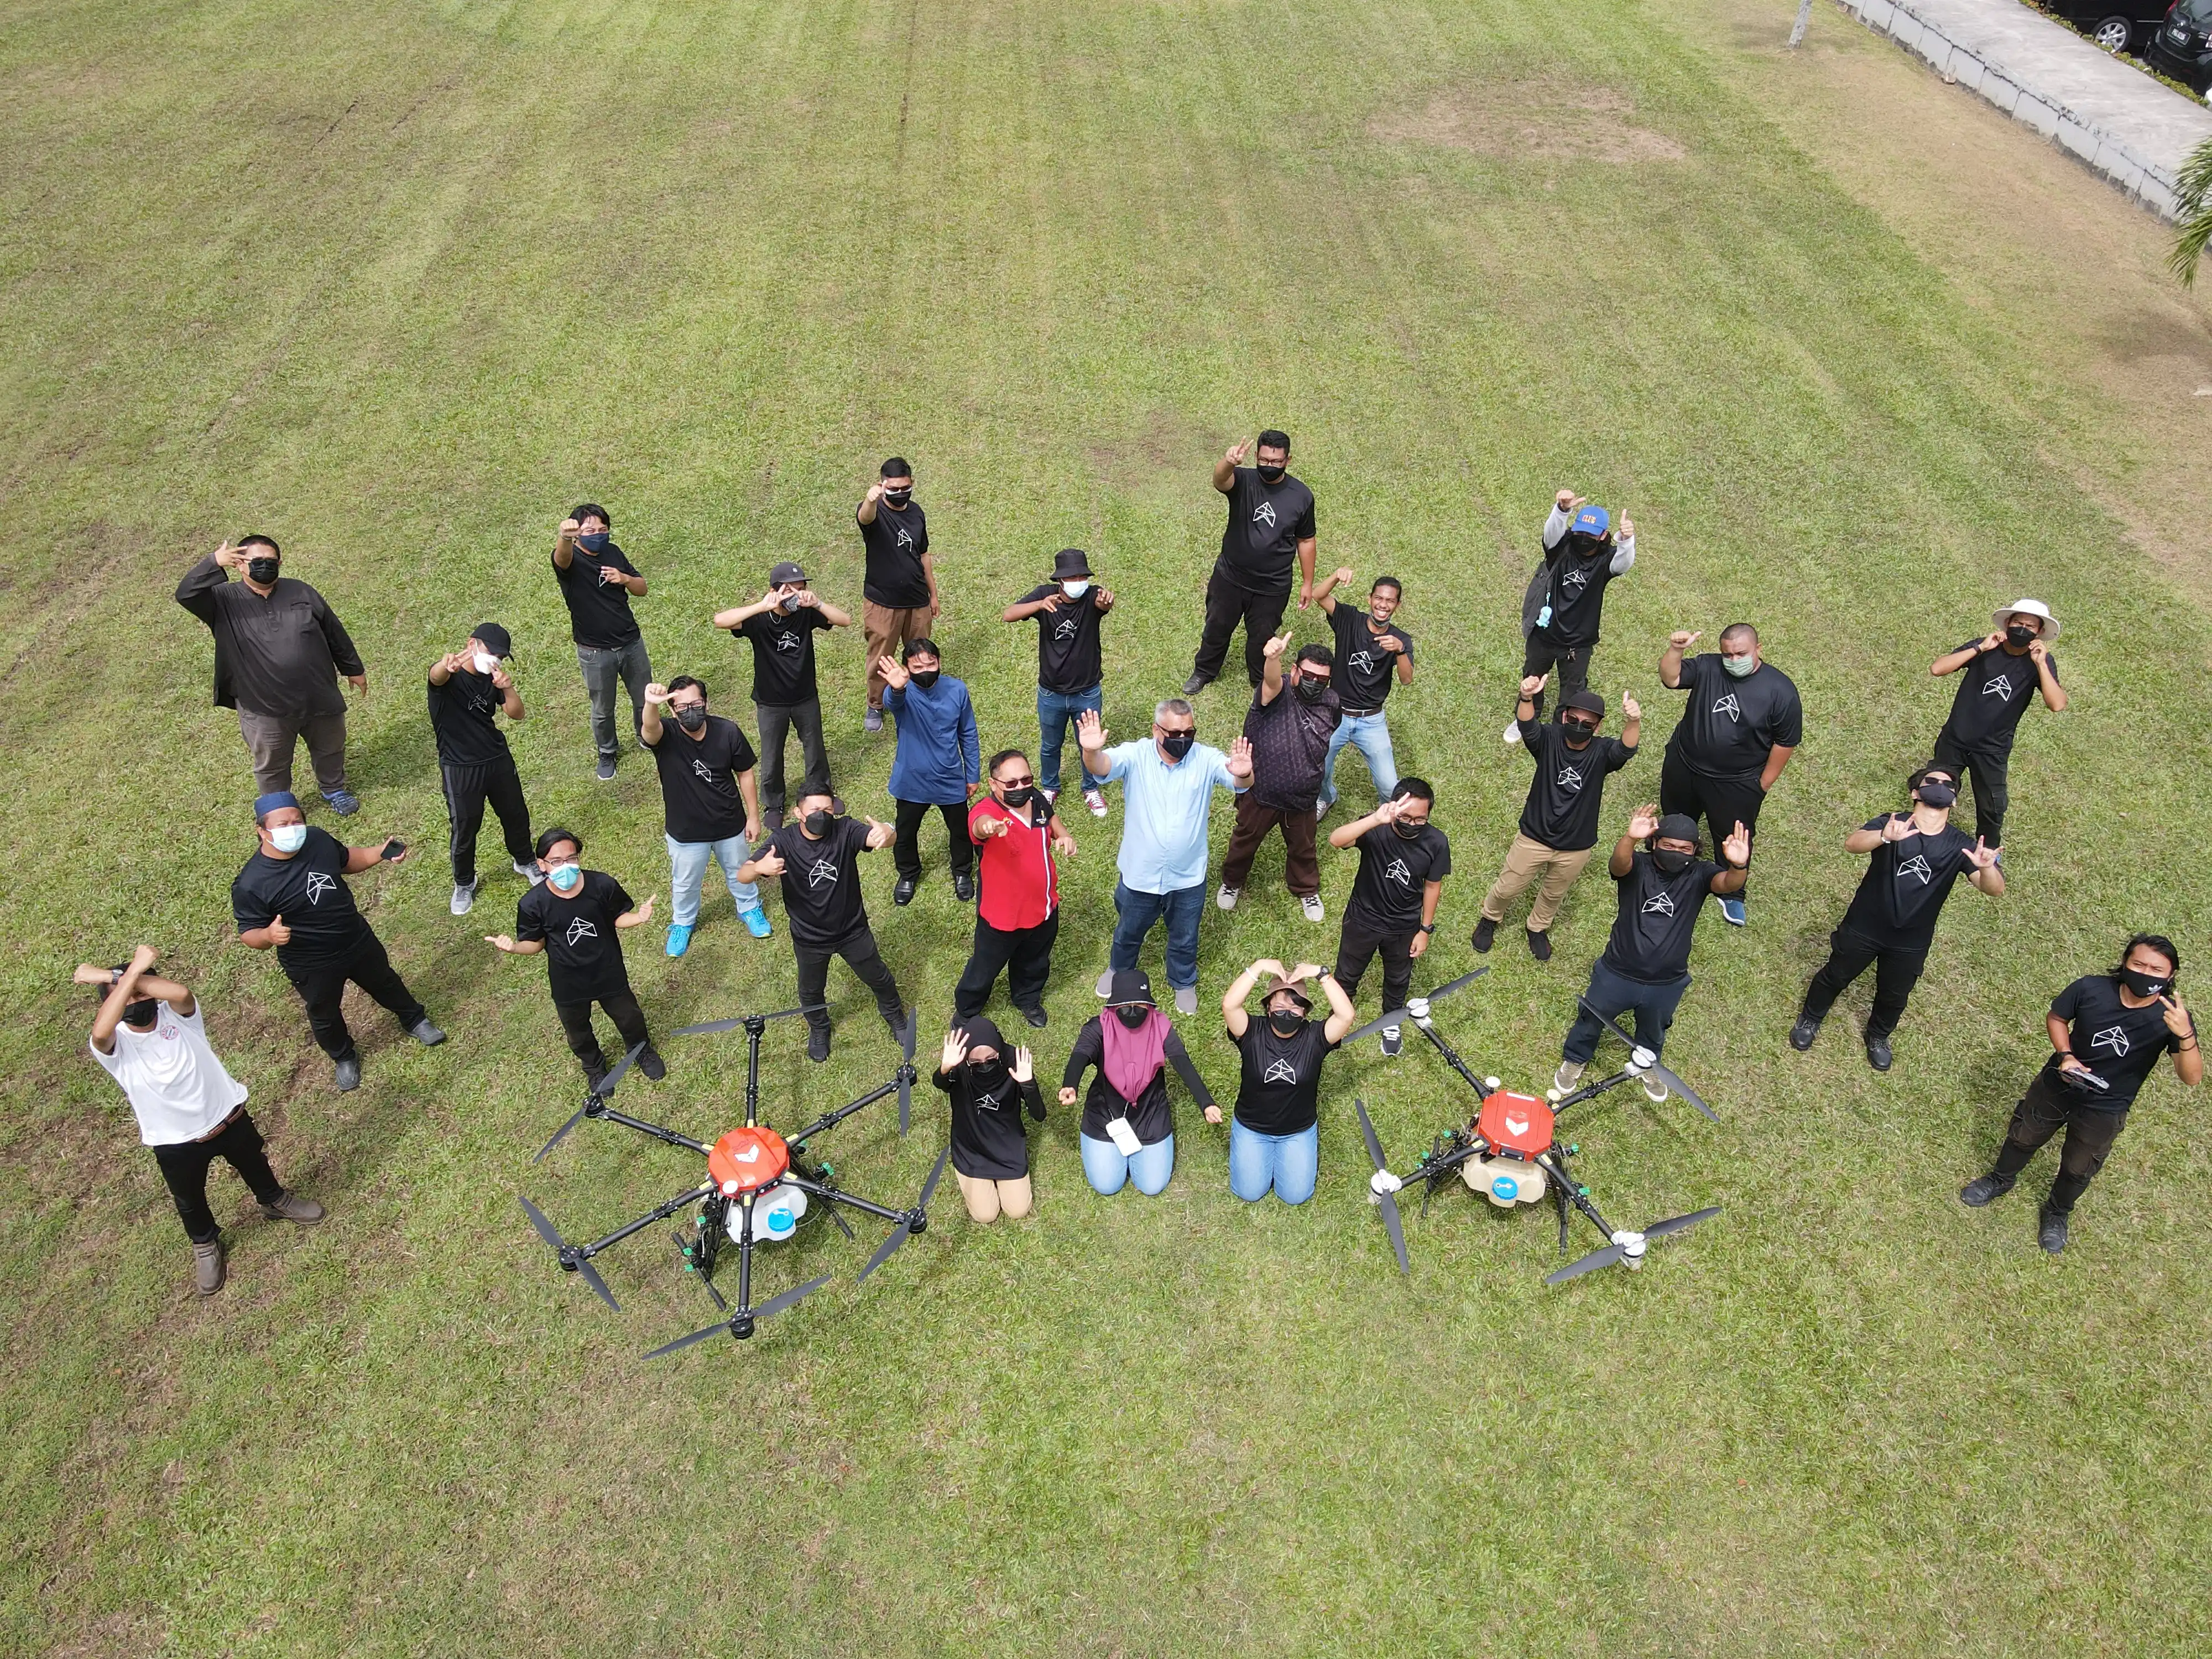
 With my colleague and drone trainer during our program.

Basic flying assessment result assessed by Aerodyne trainers (see no. 10).
My personal drone flight log. Click for more details.
Another important thing I’ve learnt is that maintaining a flight log (flight time) is crucial and should be included in a resume for a career in the drone industry. I use Airdata UAV for cloud saving, which helps me keep detailed records of my flights.
